
How a prosthetic eye Is made
Aside from designing and sculpting the best possible prosthetic, we have another very important role: ensuring the complete comfort and confidence of our patients.
Once the decision has been made to move forward with the creation of a prosthetic eye our team will work closely with the patient to understand and help manage individual needs and expectations.
The following provides an overview of what a patient can expect after making the appointment for the fitting of a new ocular prosthesis.
Free Initial Consultation
We like to introduce ourselves with a free consultation appointment and provide a more in-depth look at what to expect throughout the process of getting a new prosthetic. This is also our opportunity to express our commitment to providing the best care and treatment possible for each individual situation.
After this initial office visit, we schedule the patient’s appointment for the fabrication process, which we try and finish in one day (scleral shells are two separate office visits as described below). The day will consist of 3 separate sessions:
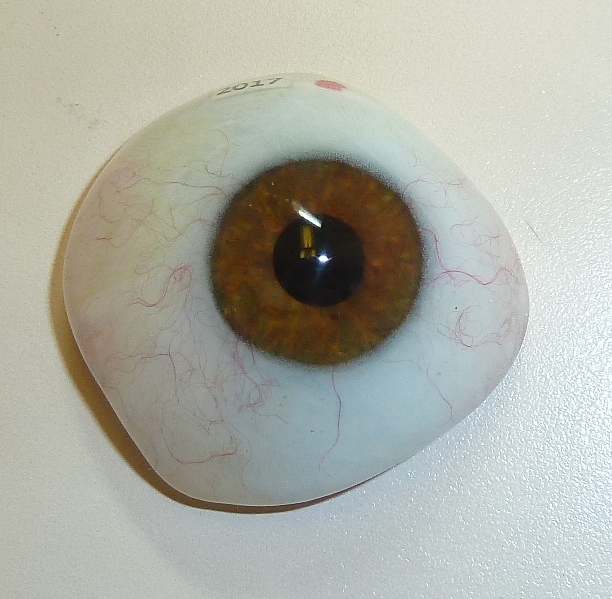
Prosthetic Eye
Session 1
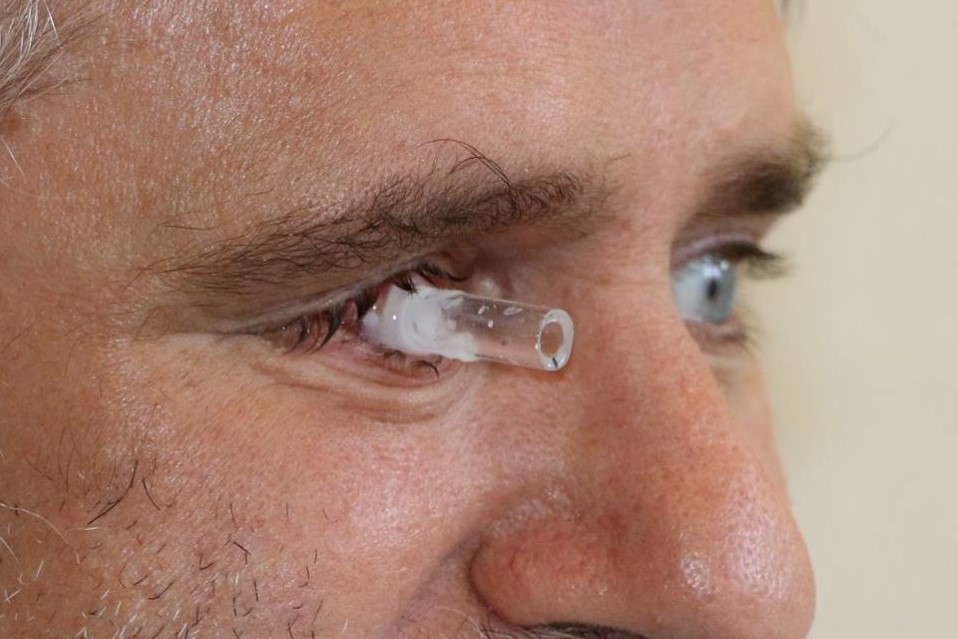
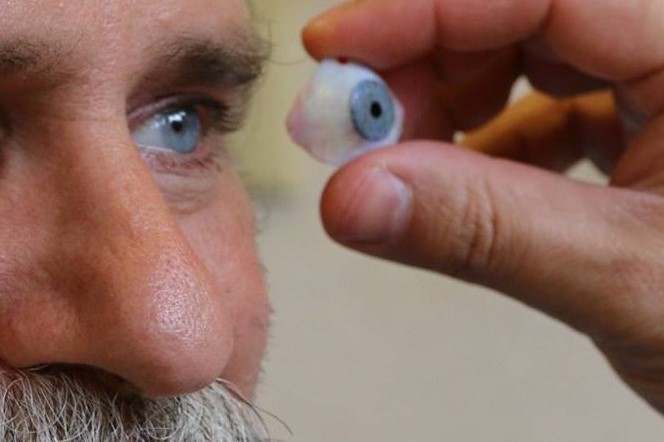
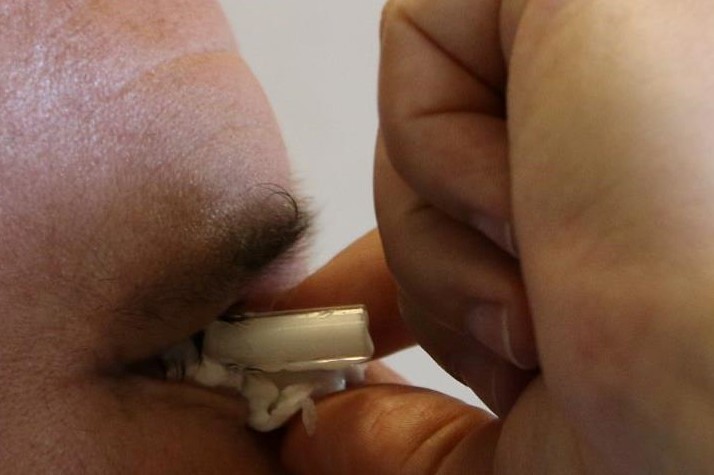
We start the fabrication process with taking an impression of the socket. This part is very similar to the same process that dentists use when making an impression of teeth for such services as braces, guards for grinding teeth, and so forth. The impression is the most uncomfortable part of the day but only lasts 1-2 minutes while the alginate material sets up. After we take the impression, we design and sculpt a wax pattern made from the shape of the impression. This will become the final shape of the prosthesis. During this time, we take careful measurements to assure proper size, direction of gaze and iris position. After this session, the patient leaves our office and returns usually after two hours. During that time, we take the wax pattern and make a mold in dental stone from which the prosthesis is cast in medical grade white polymethylmethacrylate acrylic (PMMA). After being processed this is then cut down and the surface prepared for painting in the next session.
Session 2
During this session, the iris is oil painted while the patient is present. Scleral tints, veins, and details are added as well. At this point, the patient leaves our office for approximately two more hours while lab work is performed and the prosthesis is cured in clear acrylic, then polished and finalized.
Session 3
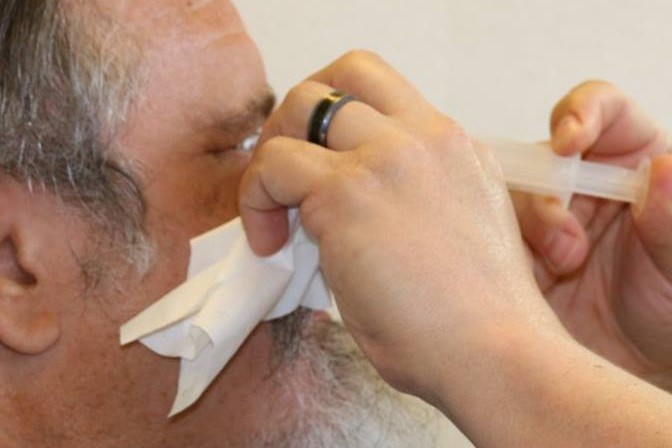
The patient now returns for their final session at which time the prosthesis is inserted and any necessary adjustments are made. At this time we go over removal and insertion of their new eye. Care and instructions for the maintenance of the new prosthesis are also given and discussed.